Stay one step ahead of the weather by turning to this wall waterproofing checklist to make sure you have everything you need before you start!
Preparing for the ever-changing weather can be a challenge, but having the right wall waterproofing checklist in place can make it easier. From protecting your walls from water damage to preventing mold and mildew, this guide will help you make sure you have all the necessary tools and supplies to get your project off the ground.
Clear the Room and Remove Furniture.
Before you get started with any wall waterproofing project, it’s important to clear the room and remove all furniture and other items. This will help give you enough space to move around freely while preventing any potential accidents or damage to your belongings when working with tools and supplies. Don’t forget to cover any remaining furniture in plastic to protect it from any dust or debris during the course of the project.
Prepare the Wall and Clean It.
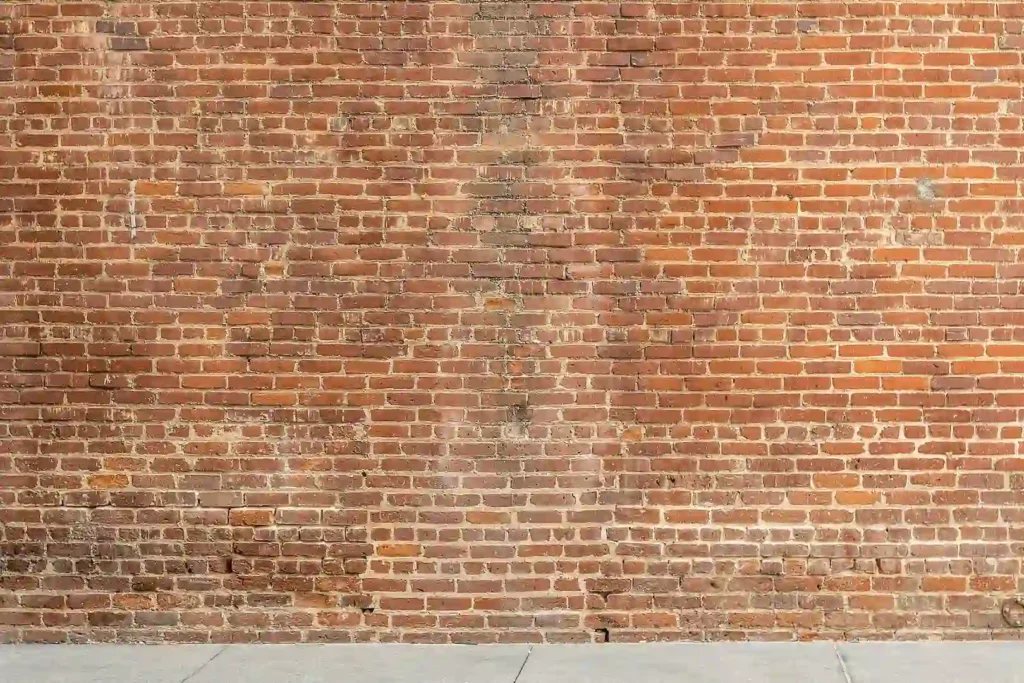
Before starting any waterproofing work, you must prepare the wall and make sure it is clean. Wash away dirt or grime with a mild detergent or cleaner and consider sanding any rough or damaged areas to ensure a smooth surface before applying any sealants. Also, inspect the wall for existing damage such as eroded brickwork, cracks, or loose mortar joints that could lead to further issues if not fixed beforehand. By carrying out this step thoroughly you can be much more confident in your final results.
Inspect Cracks and Damage.
Once the wall is washed and sanded, you should inspect the surface for any existing cracks or damage. The wall may have already been weakened due to water seepage or other causes. Check all mortar joints, including in and around window frames, too. Make sure they are in good condition with no gaps or signs of deterioration before you begin your waterproofing work.
Check for Leaks in Your Window and Door Frames.
Check the window and door frames for signs of leakage. Start by looking out for damp patches, mildew, and signs of condensation on the windows or doors. If you observe any of these signs, it’s important to identify and waterproof the source of the leak before you begin waterproofing your walls in order to ensure lasting results.
Seal Around Windows, Vents, Floors, etc.
Before you start wall waterproofing, make sure all openings such as windows, vents, and floors are properly sealed and caulked. Make sure the sealant you use is appropriate for the material you’re working with – some sealants are meant specifically for stone, others for poured concrete or stucco. Properly sealing these any other potential sources of water will help prevent future leaks, so be thorough in your sealing application!
Rahul Arts India has an expert team for waterproofing. Click Here to contact us.
Read More About Waterproofing.